Are you wondering how to install a fast Level 2 EV charger at home after purchasing your electric vehicle? Many homeowners face this question after experiencing the inconvenience of commercial charging stations.
Electric vehicles (EVs) are becoming increasingly popular due to their eco-friendly nature, cost-effectiveness, and driving experience. Upgrading to a Level 2 charger at home makes charging significantly faster and more convenient. This comprehensive guide will help you install a fast Level 2 EV charger so you can spend less time charging and more time driving.
What Is a Level 2 EV Charger?
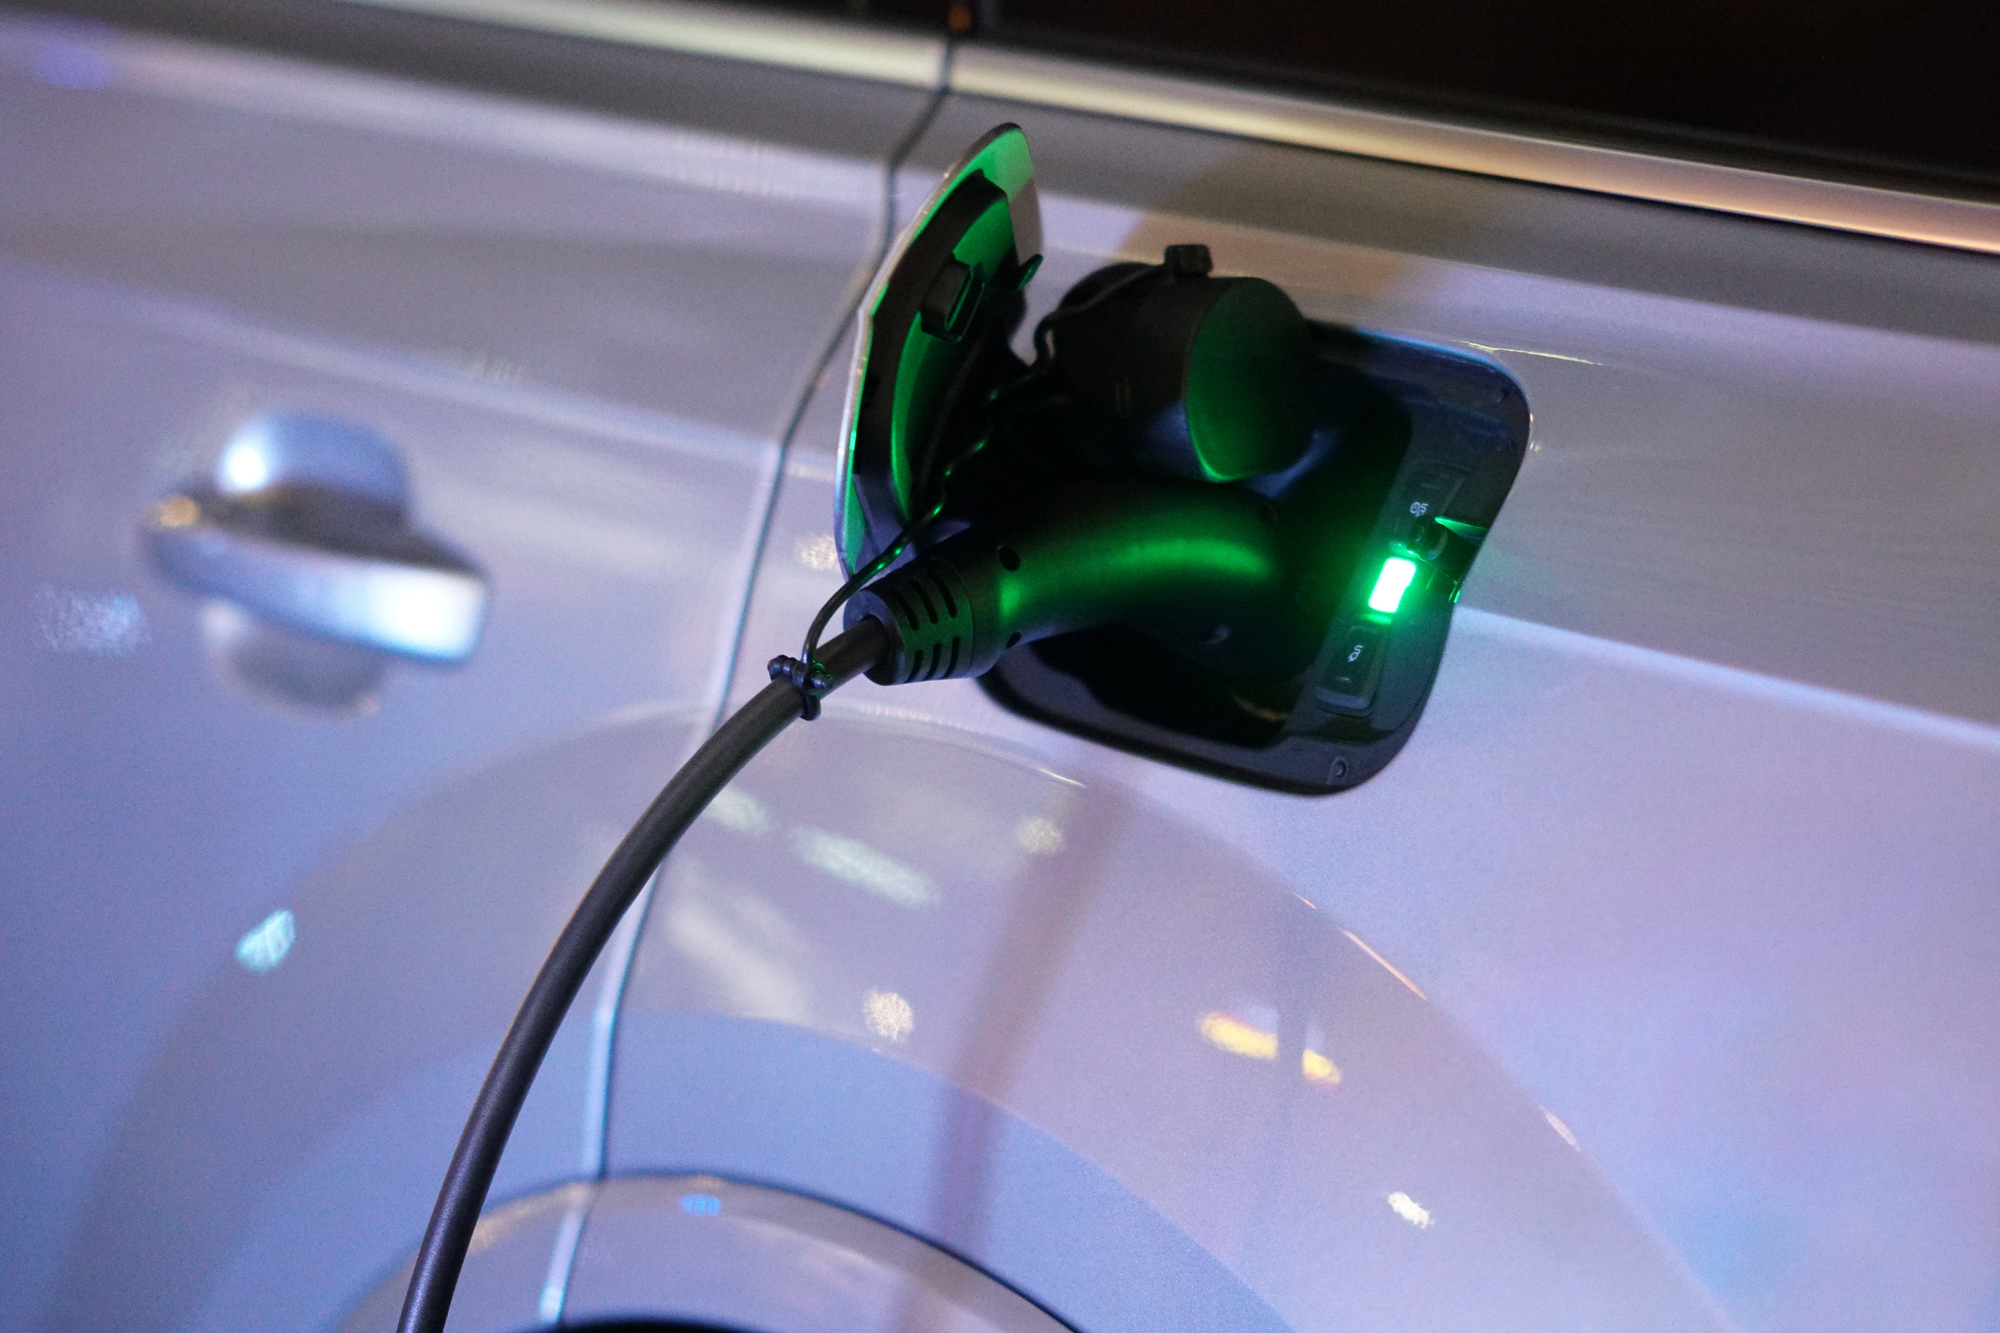
A Level 2 EV charger provides higher charging capacity than the standard Level 1 charger typically included with your EV. While Level 1 chargers plug into standard 120-volt outlets and deliver about 4-5 miles of range per hour, Level 2 chargers use 240-volt outlets and can deliver 25-40 miles of electric driving range per hour. This makes them ideal for overnight charging or quickly replenishing your battery during the day. A Level 2 fast EV charger (40 or 48 amps) is most suitable for pure electric vehicles.
Finding a Qualified EV Charger Installation Company
To ensure fast home EV charging times for their vehicles, homeowners need to find qualified electricians for their EV charger installation. While there isn’t technically such a thing as an “approved” EV charger installation company (since there’s no specific license for residential EV charger installation), we’ve created the following criteria to help you find a high-quality EV charger installation company:
Step-by-Step Installation Guide
Step 1: Determine Your Charging Needs
Before investing in a Level 2 charger, consider your EV’s charging specifications, driving habits, and your home’s available electrical capacity. Some Level 2 chargers deliver up to 48 amps, but your EV may not require that much power. Check your vehicle’s user manual or consult with your dealership for specific recommendations. Generally, a pure electric vehicle with a battery greater than 60 kWh is best suited for a fast (40 amp or 48 amp) Level 2 EV charger at home.
Step 2: Preparing for Installation
Proper preparation is key to a successful Level 2 charger installation. Consider these crucial steps:
- Evaluate Your Installation Location: Decide where you want to install the charger. Common locations include garages, carports, or driveways. Ensure the location is convenient and close to where you typically park your EV.
- Check for Accessibility: The installation site should have easy access to your electrical panel and sufficient space for the charger. If you plan to install the charger outdoors, make sure the area is protected from extreme weather conditions or choose a weather-resistant charger.
- Assess Your Home’s Electrical System: Have a licensed electrician evaluate your home’s electrical panel to ensure it can handle the additional load of a Level 2 charger. Older homes may require upgrades to the panel or wiring. A load assessment will determine electrical capacity. Inspection of the main panel breakers will determine physical capacity. Ideally, there should be blank slots on the home’s electrical panel. If all slots are taken, the electrician may be able to use a quad breaker to expand usage for an EV charger.
- Understand Local Building Codes and Permits: Some areas require permits for installing a 240-volt circuit or making modifications to your home’s electrical system. Check your local regulations to ensure compliance.
- Plan for Future Needs: If you’re considering upgrading to a larger EV or adding more EVs to your household in the future, it might be worth installing a charger with higher amperage capacity to accommodate future needs.
Step 3: Choose the Right Charger
There are many Level 2 chargers on the market, each with different features. Look for chargers with:
- Smart Features: Wi-Fi connectivity, app control, and scheduling options.
- Amperage Adjustability: To match your home’s electrical capacity.
- Weather Resistance: For outdoor installation.
- Safety Certifications: Ensure the charger is UL- or ETL-certified.
- Cable Length: This assists with reaching the location of your car’s charging port
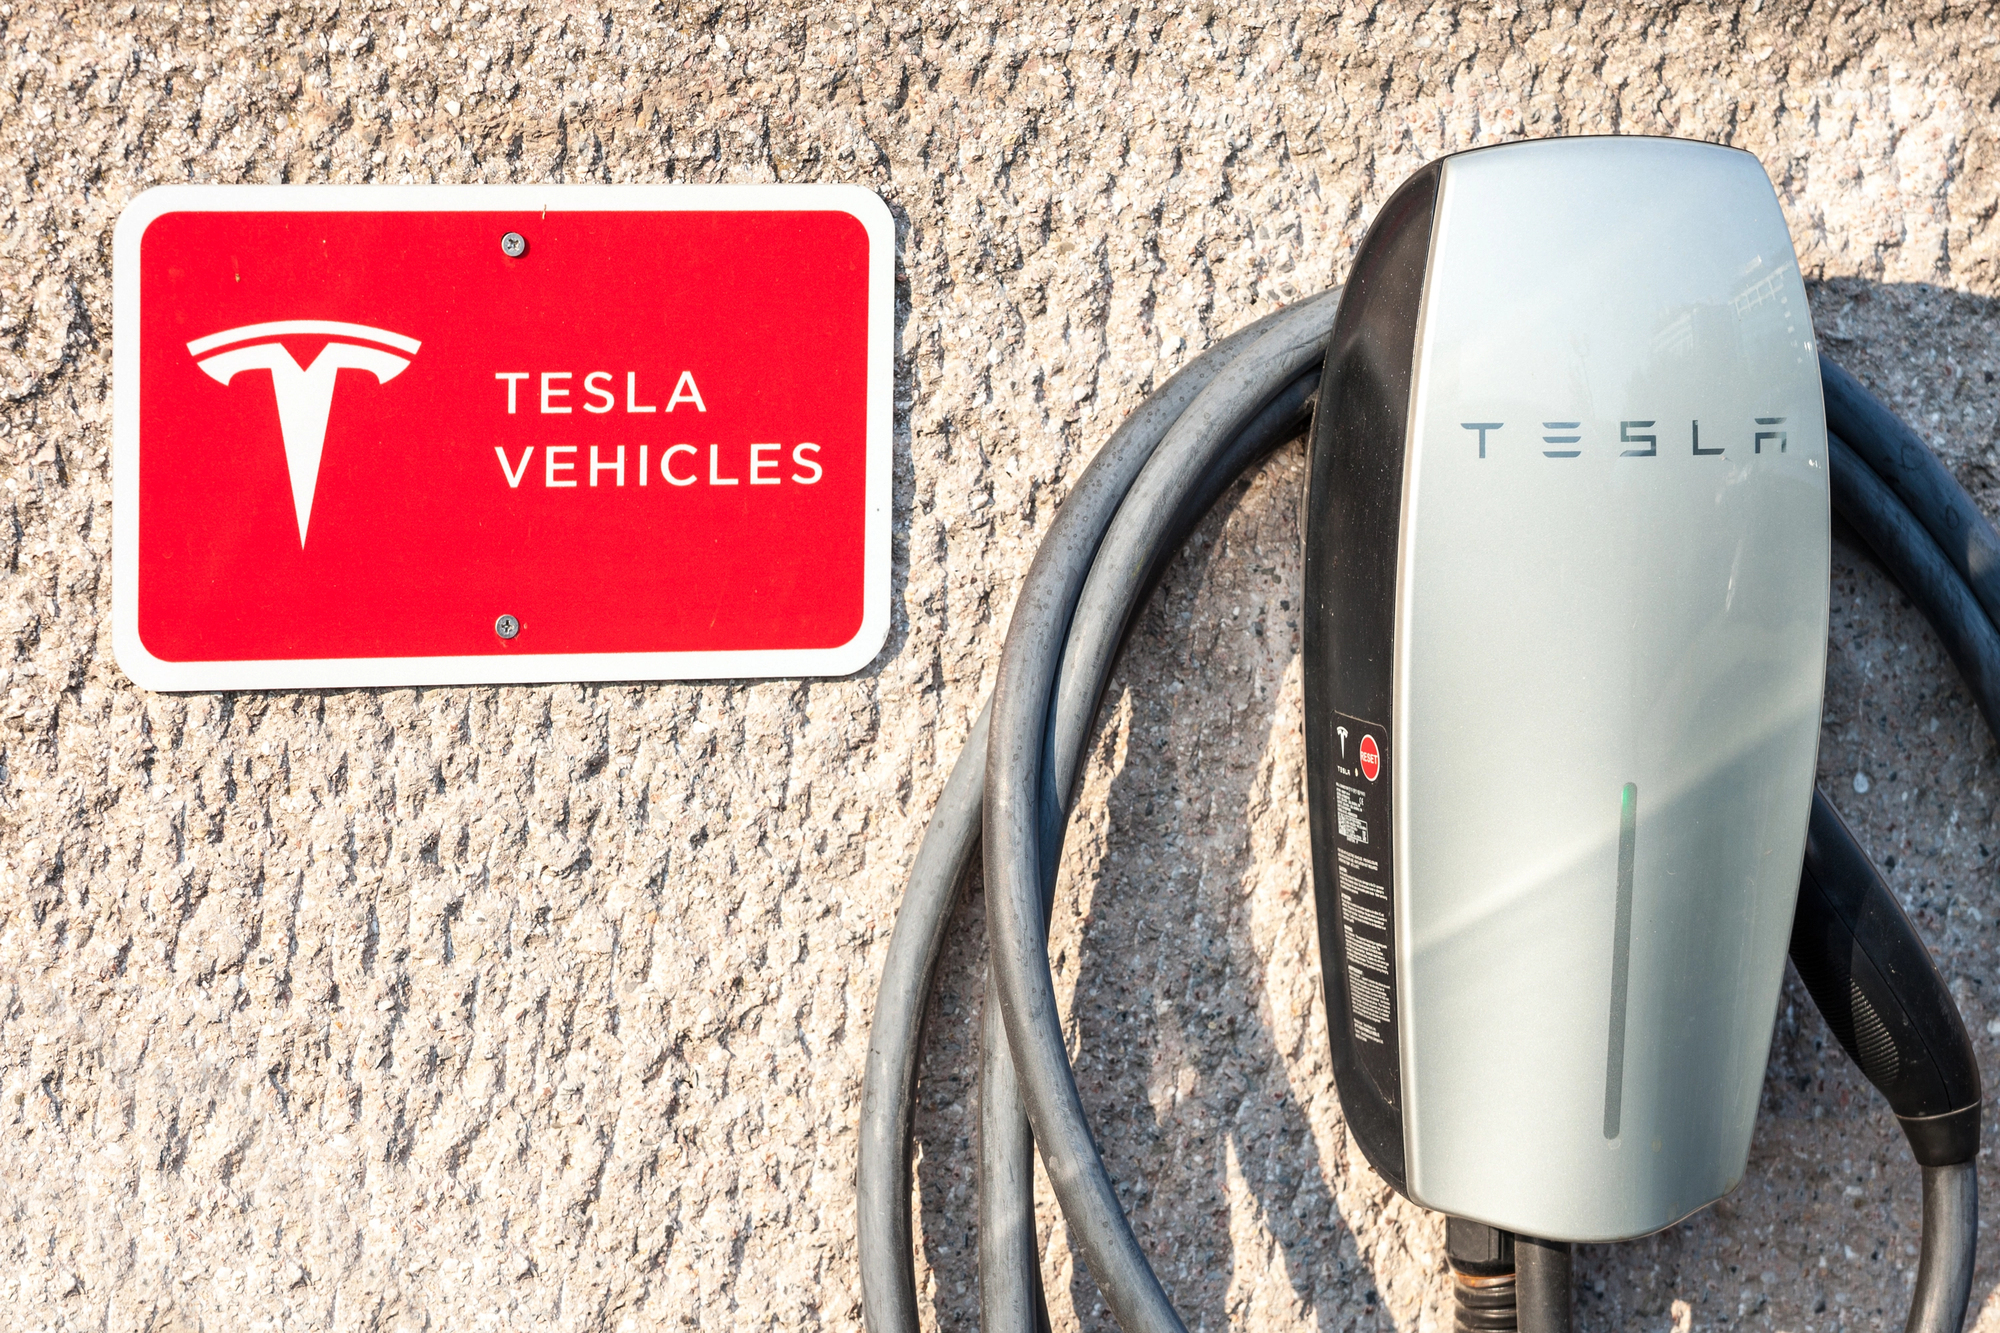
Popular brands include ChargePoint, JuiceBox, AEFA, and Tesla Wall Connector or Tesla Universal EV charger (for Tesla owners).
Step 4: Check Your Electrical Panel
A Level 2 charger requires a dedicated 240-volt circuit. If your electrical panel is older or already near capacity, you may need to upgrade it before installing the charger. This can be a significant expense, so consult with a licensed electrician to evaluate your panel’s capacity and determine whether an upgrade is necessary.
Step 5: Consider the Costs
When installing a Level 2 EV charger, there are several costs to keep in mind:
- Permits: Depending on your location, you may need a permit to install a 240-volt circuit. Permit costs vary widely but typically range from $50 to $200. Be sure to check your local building codes.
- Electrician Fees: Hiring a licensed electrician is essential for a safe and compliant installation. Electrician costs can range from $300 to $1,200, depending on the job complexity, the condition of your electrical panel, and the distance between the panel and the charger location.
- Charger Unit: The cost of a Level 2 charger itself varies based on brand and features. Basic models start around $500, while premium chargers with smart features can cost $700 or more.
- Panel Upgrades (If Needed): If your home’s electrical panel is older or lacks sufficient capacity, upgrading it could add $1,000 to $3,000 or more to your total costs.
- Additional Materials: Miscellaneous costs, such as wiring, conduit, and mounting hardware, can add $100 to $300 to the project.
By planning and budgeting for these costs, you can avoid surprises and make informed decisions about your installation.
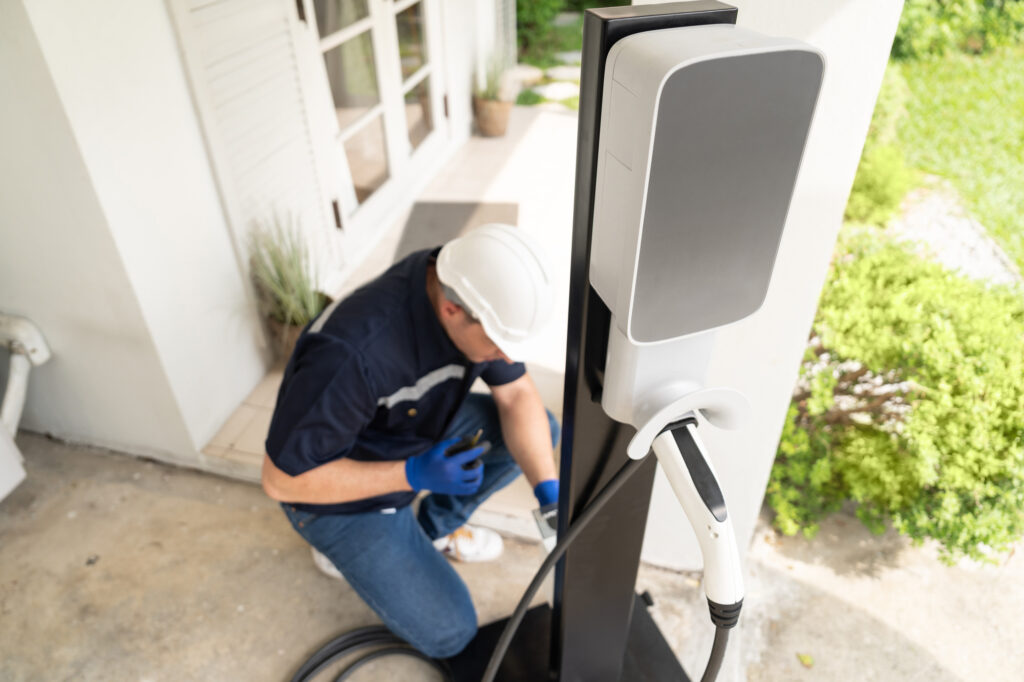
Step 6: Hire a Licensed Electrician
Electrical work can be dangerous, so it’s crucial to hire a licensed electrician to install your Level 2 charger. The electrician will:
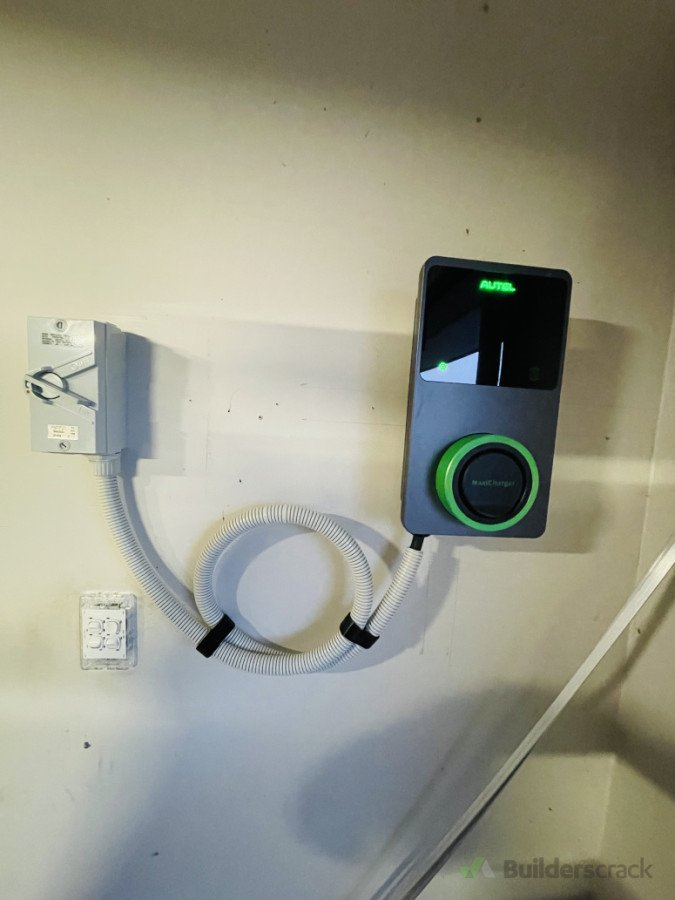
- Install a dedicated 240-volt circuit in your electrical panel.
- Run wiring to the installation location (e.g., your garage or driveway).
- Mount and connect the EV charger securely.
- Test the setup to ensure everything is functioning safely and correctly.
Step 7: Apply for Rebates and Incentives
Many states, utility companies, and even automakers offer rebates or tax incentives for installing a Level 2 charger. These can significantly reduce the installation cost. Check local programs and apply for any available incentives to maximize your savings.
Step 8: Start Charging!
Once your Level 2 charger is installed, you’re ready to enjoy the convenience of fast charging at home. Use the accompanying app (if available) to schedule charging during off-peak hours for additional savings on your electricity bill.